DIY worm farm
Published on 20 April 2020
Make your own worm farm
Learn how to make your very own worm farm, and convert your organic waste into fresh useful compost with an easy method you can do at home.
Worms may not be the cuddliest pet, but they are one of the most useful. Worms are cheap, easy to take care of, and they eat most of the things you don’t want to eat. Better yet, they turn it into top-notch fertilizer for your garden.
Why worms?
If you’ve never had worms, you’re probably wondering why worms? Well if your household produces far more food waste than garden waste, then a worm farm is a great composting option for you.
Types of worm farms:
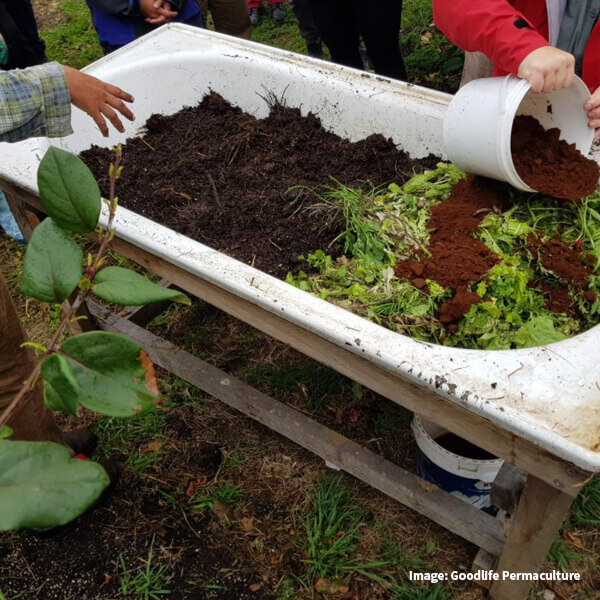
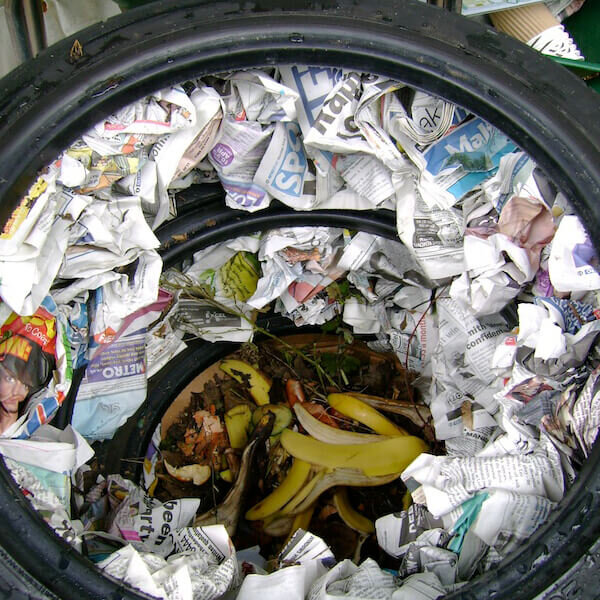
There are lots of different worm farms available. You can buy a Hungry Bin from our online EcoShop, or you can go ahead and make your own out of old tyres or a repurposed bath.
Getting Your Worm Farm Ready
Situate your farm in a spot that is shady and sheltered.
Once your farm is in place, put a 20cm layer of damp bedding like hay, compost, or paper in the bottom.
Add 1kg tiger (compost) worms on top, and cover with more damp paper. Now you’re ready to add your food scraps.
Start with a small amount - 2.5cms will be enough.
Cover the food scraps with damp newspaper to limit flies and odour.
Finally, make sure your farm’s contents are moist and exposed to air, but not light.
worms in Summer
Worms do not like the heat and will suffer if above 35° Celsius. During the summer months, keep the bedding moist (but not too much water as it can boil them), don’t put too much food scraps in (excess food will decompose and heat the bin). Tip - on super hot days, freeze a bottle of water, wrap it in some newspaper and bury it deep in your worm farm to create a cool zone.
Harvesting worm juice and castings
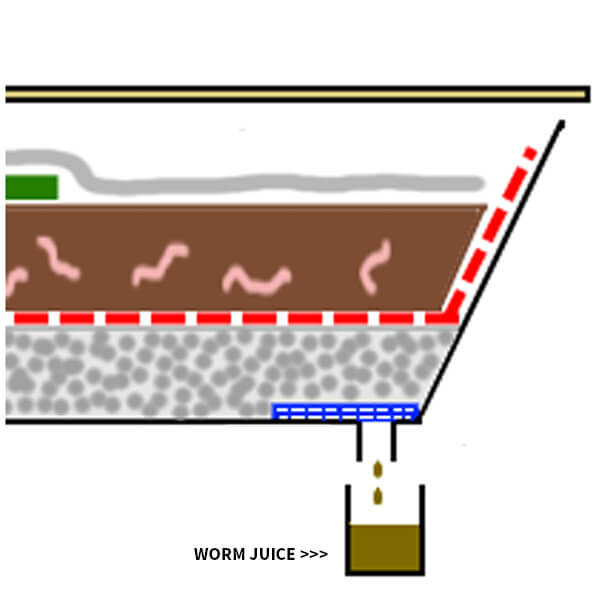
Your worm farm will produce a liquid by-product (also known as tea, rum or worm juice) and fine compost like solids called castings, and more worms.
Before feeding the nutrient-rich worm juice to your plants, dilute it 1:20 with water. Harvest the castings from the bottom layer when the top layer is full. The castings should look like fine damp soil and contain very few worms. Restack the empty bottom layer on the top of the farm, ready to catch the next batch of castings.
Feeding your worms
What worms won’t eat:
Spicy food & chilli
Onion & garlic
Meat
Milk products
Flour products
Citrus & acidic food
Shiny paper
Large amounts of garden waste
What worms will eat:
Most fruit & vege scraps
Coffee grounds & teabags
Unbleached paper products
Newspaper
Crushed egg-shells
Vacuum-cleaner dust
Hair
Small amounts of green waste
Cooked food
Sawdust
Troubleshooting:
Fruit flies or ants mean your worm farm is too acidic or dry. Cover food with damp paper and add garden lime to increase the pH or water
Rotting food means you are feeding the worms too much, or the wrong things. Feed the worms less and double-check what’s going into the farm.
Don’t let your worms dry out. The moisture content of your farm should be about that of a wrungout sponge.
That said, too much moisture can drown your worms. If your worm bin is too wet, the combination of rotting food will produce a foul odour.
If your worms are becoming pale in colour, or are skinny rather than fat and healthy, there’s probably too much moisture in your worm farm
Worms in Winter
Worms also suffer when its cold so make sure you insulate their home. Wrap it with wool, cardboard, fabric etc. and move it to a warmer spot. Refrain from opening your worm bin lid as this will let the cold in. Add dry leaves, straw or grass on top. Tip: Adding nitrogen will increase the temperate. Legumes and vegetable are a good place to start. Steer clear of fruits.


